Building a router with a Raspberry Pi and OpenWRT

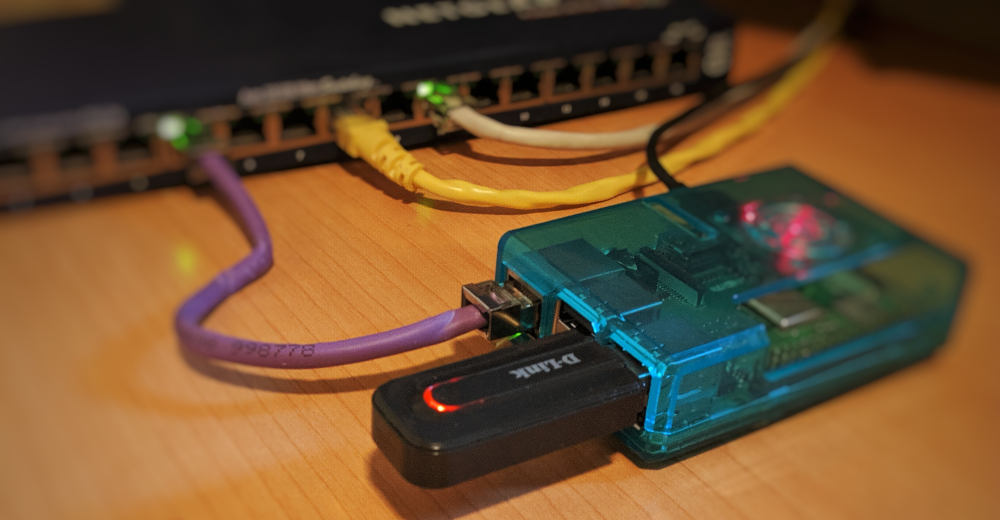
OpenWRT is a well known distribution among routers. It provides a wide variety of possibilities with the inclusion of a package manager opkg. Here I’m going to be installing OpenWRT on a Raspberry Pi 3 B+ and creating a wireless access point with its own subnet that doesn’t have access to the rest of the network. This could be useful for isolating IoT devices or creating a ‘‘guest’’ network.
The OpenWRT Wiki gives a bit of light on the installation of OpenWRT on the Pi. First of all I’m going to use the snapshot build instead of the release located at https://downloads.openwrt.org/snapshots/targets/brcm2708/bcm2710/. If you use the release build the onboard wi-fi will not be detected.
There are a few considerations before flashing the image that should be worth taking a look:
- The default IP for thr RPi will be
192.168.1.1, this will collide with your main router address so you have to temporarily change your router IP to something like192.168.1.3and after having access to the raspberry pi changing it back. - If using a Pi 3B+, your country has to be set with
raspi-configin a Raspbian environment for the onboard wireless to work.
Ok so we will be plugging the pi into an ethernet device like any other normal computer to give it access to the internet.
Unzip and flash the rpi-3-ext4-factory.img.gz image located in the previous link and turn on the pi.
Run ssh root@192.168.1.1 and you will be presented with a shell prompt.
Configure the internet access
Do an ip addr and look for the ethernet interface, in this case it will be eth0.
In OpenWRT the interfaces are configured in /etc/config/network add or modify the lan entry in that file:
config interface 'lan'
        option type 'bridge'
        option proto 'static'
        option ipaddr '192.168.1.2'
        option gateway '192.168.1.1'
        option netmask '255.255.255.0'
        option ip6assign '60'
        option ifname 'eth0'
For updating the packages we will also need to configure the DNS servers so edit the /etc/config/dhcp and add list server 1.1.1.1 or something similar to the config dnsmasq entry.
With that set you could do an /etc/init.d/network restart to apply the changes.
Installing the software and the web interface
Run opkg update and then run opkg install luci. If you want to install packages from the interface also install luci-app-opkg
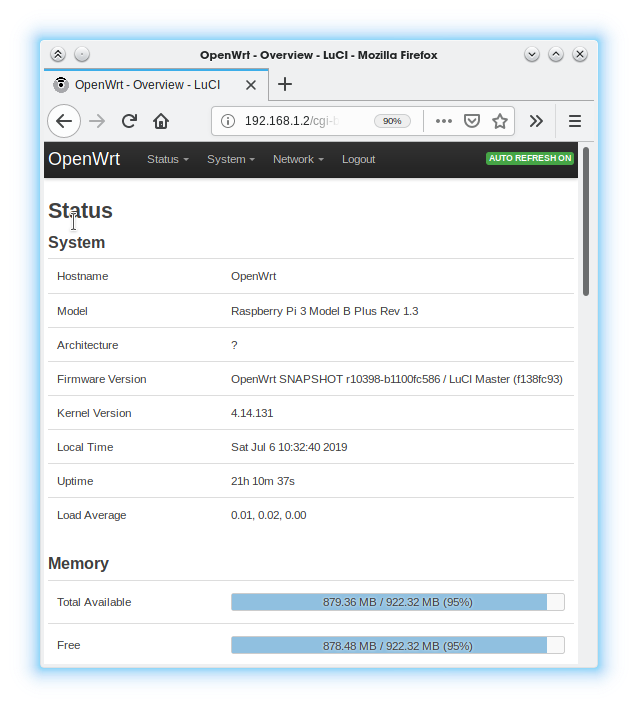
reboot the device and access your Pi from a browser:

Configuring the zones and creating an isolated AP for guests
In the Web GUI, I configured a new interface called wifi and I linked it into the existing lan connection. Then you can specify different rules for restricting the access in that new network. My main router works in the 192.168.1.0/24 range so the access point will have its own isolated network in the 192.168.2.0/24 range. Here’s an /etc/config/network example:
...
config interface 'lan'
        option type 'bridge'
        option proto 'static'
        option ipaddr '192.168.1.2'
        option gateway '192.168.1.1'
        option netmask '255.255.255.0'
        option ip6assign '60'
        option ifname 'eth0'

config interface 'wifi'
        option proto 'static'
        option ipaddr '192.168.2.1'
        option netmask '255.255.255.0'
The zones are configured in /etc/config/firewall
...

config zone
        option name 'wifi'
        option input 'ACCEPT'
        option output 'ACCEPT'
        option forward 'ACCEPT'
        option masq '1'
        option network 'lan wifi'

config forwarding
        option dest 'wan'
        optioconfig interface 'lan'
        option type 'bridge'
        option proto 'static'
        option ipaddr '192.168.1.2'
        option gateway '192.168.1.1'
        option netmask '255.255.255.0'
        option ip6assign '60'
        option ifname 'eth0'

config interface 'wifi'
        option proto 'static'
        option ipaddr '192.168.2.1'
        option netmask '255.255.255.0'
n src 'wifi'

config forwarding
        option dest 'wifi'
        option src 'wan'

config rule
        option enabled '1'
        option src 'wifi'
        option name 'isolatewifi'
        option proto 'all'
        option src_ip '192.168.2.0/24'
        option dest_ip '192.168.1.0/24'
        option target 'DROP'
        option dest '*'
All of this can also be done in the web interface, but I put here the config files for clarity’s sake.